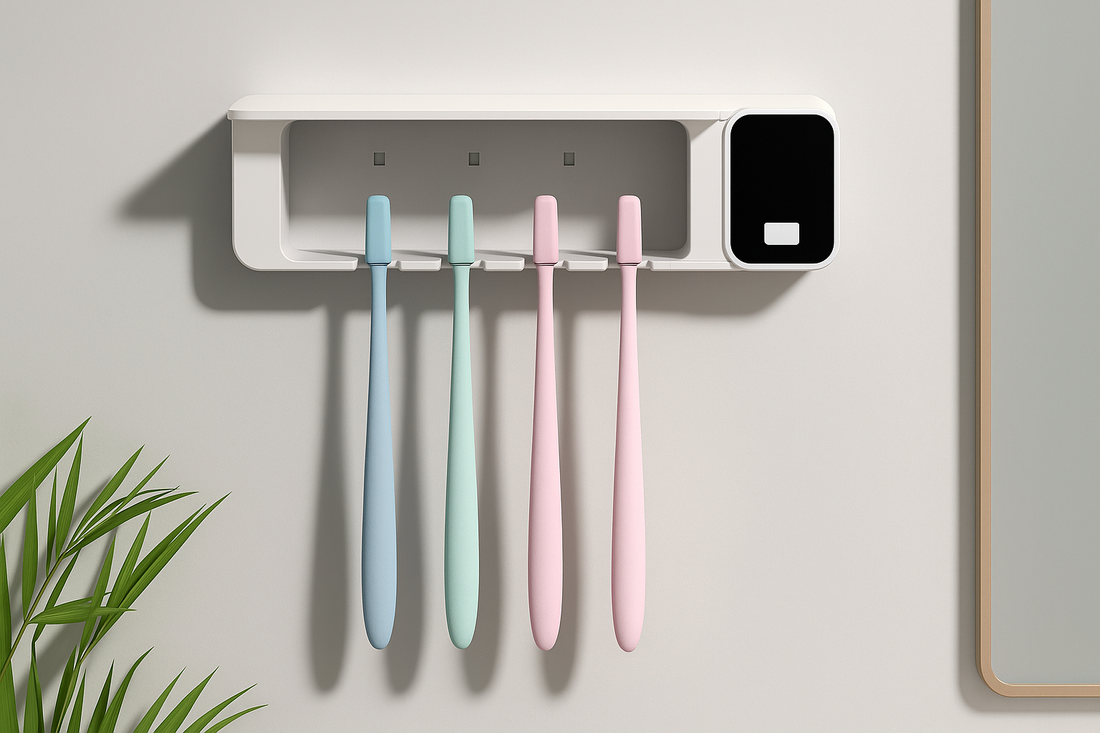
How to Wash a Toothbrush Holder: A Step-by-Step Guide
Your toothbrush holder may not seem like a major household item, but it’s one of those things that can easily accumulate germs, bacteria, and grime over time. Since it’s the place where your toothbrush rests — an item that’s regularly in contact with your mouth and cleaning products — keeping it clean is important for your overall hygiene.
If you’re not sure how to properly clean your toothbrush holder, don’t worry! Here’s a step-by-step guide to help you get your toothbrush holder sparkling clean in no time.
Why You Should Clean Your Toothbrush Holder
Before diving into the cleaning process, let’s take a moment to understand why it’s important to wash your toothbrush holder regularly:
Prevent Germs and Bacteria Growth: The bathroom is a prime breeding ground for bacteria and mold. The wet environment created by your toothbrush after every use provides a perfect setting for germs to thrive.
Odor Control: A toothbrush holder that’s not cleaned regularly can start to develop unpleasant smells due to stagnant water or moisture buildup.
Prevent Cross-Contamination: Toothbrushes can transfer bacteria to the holder, and if the holder is dirty, it can eventually transfer that bacteria back to your toothbrush.
If you believe your toothbrush holder is beyond help, you could consider getting a replacement such as these ones here.
Now that you know the importance, let’s go over how to properly clean it.
Step-by-Step Guide: How to Clean Your Toothbrush Holder
1. Empty the Holder
The first step in cleaning any toothbrush holder is to remove all toothbrushes and any other items that might be inside (such as floss, toothpaste tubes, or small accessories). This gives you space to thoroughly clean the holder without obstructions.
2. Rinse with Warm Water
Next, take the toothbrush holder to the sink and rinse it out under warm running water. This will help remove any debris, toothpaste residue, or grime that’s accumulated on the surface. If the holder is particularly dirty, give it a quick rinse and set it aside to dry while you prepare the cleaning solution.
3. Prepare the Cleaning Solution
There are several ways to clean your toothbrush holder, depending on the materials it’s made of and your preference for cleaning agents. Here are a few options:
Dish Soap and Water: The simplest and most effective option is using mild dish soap mixed with warm water. Dish soap is formulated to break down oils and grime, which will make it easier to clean.
Baking Soda Paste: If your toothbrush holder is particularly stained or has built-up residue, you can make a paste of baking soda and water. Baking soda is mildly abrasive and can help scrub away stubborn dirt.
Vinegar and Water: For an all-natural cleaning solution, mix equal parts white vinegar and water. This solution helps disinfect and dissolve mineral deposits (such as those left by hard water).
4. Scrub the Holder
Using a soft cloth, sponge, or toothbrush (yes, you can use an old toothbrush for this purpose!), gently scrub the inside and outside of the holder. Be sure to pay attention to any crevices or corners, where dirt and bacteria can hide. If you’re dealing with a larger, more intricate design, you can use a cotton swab or toothpick to get into small spaces.
5. Disinfect (Optional)
To ensure that your toothbrush holder is truly germ-free, you can disinfect it using a solution of rubbing alcohol (70% or higher) or a store-bought disinfectant. Simply wipe down the holder with a clean cloth or paper towel soaked in the disinfectant, and let it air dry. This step is especially important if someone in your household has been sick.
6. Rinse Again
Once you’ve finished scrubbing and disinfecting, rinse the holder under warm water to remove any remaining cleaning solution. This is especially important if you’ve used anything like vinegar, soap, or baking soda, as residues could affect the quality of your next brush.
7. Dry Thoroughly
Finally, let your toothbrush holder dry completely before putting your toothbrushes back in. You can air-dry it by placing it upside down on a clean towel or drying rack. If you’re in a rush, use a dry cloth to wipe it down.
After following these steps, your toothbrush holder should be close to new however, you can always consider obtaining a replacement at a reasonable market price such as these ones here.
How Often Should You Clean Your Toothbrush Holder?
To maintain good hygiene, it’s recommended to clean your toothbrush holder at least once a week. However, if you notice a buildup of mold, grime, or a bad smell before then, it’s a good idea to clean it more frequently. If you’re in a high-humidity bathroom or have multiple people using the holder, consider cleaning it every 3-4 days.
Additional Tips for Keeping Your Toothbrush Holder Clean
Keep it Dry: Moisture is one of the main contributors to bacteria growth. After cleaning your toothbrush, be sure to tap off any excess water before placing it back in the holder.
Use a Holder with Drainage Holes: If your holder doesn’t have drainage holes, consider upgrading to one that does. This helps water drain away quickly, preventing stagnant water from accumulating at the bottom.
Choose a Holder with Smooth Surfaces: Some holders are made with rough or textured materials that trap dirt more easily. If you want to make cleaning even easier, opt for a holder with a smooth, non-porous surface like glass, ceramic, or stainless steel. Some options are here.
Conclusion
Washing your toothbrush holder may seem like a small task, but it plays a big role in maintaining your bathroom hygiene. By following these easy steps, you can ensure that your toothbrush holder stays clean, dry, and free from bacteria. Remember to clean it regularly, and don’t forget to keep your toothbrushes dry and properly stored as well.
A little attention to detail goes a long way in ensuring a healthier, cleaner bathroom!