
How to Mount a Soap Dispenser on a Wall: A Step-by-Step Guide
Share
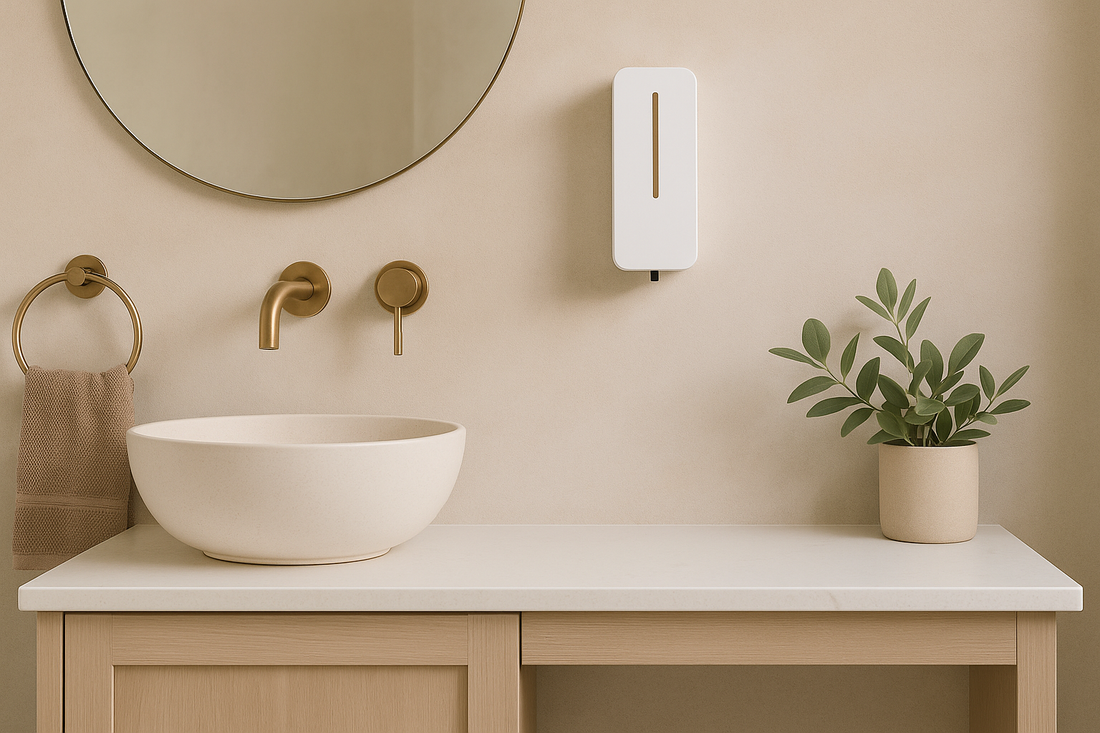
Wall-mounted soap dispensers are a practical addition to any bathroom or kitchen, offering convenience, hygiene, and a sleek, modern aesthetic. Alternatively, you could also consider free-standing dispensers for ease. Whether you're outfitting a commercial space or upgrading your home, installing a soap dispenser on a wall can be a simple DIY project. This guide will walk you through the entire process—from choosing the right dispenser to securely mounting it on the wall.
Why Use a Wall-Mounted Soap Dispenser?
Before diving into the installation, it’s worth considering the benefits of wall-mounted soap dispensers:
Space-saving: Frees up counter space for a cleaner look.
Hygienic: Reduces contact and prevents contamination.
Eco-friendly: Most models can be refilled, minimizing waste.
Cost-effective: Reduces soap overuse and spillage.
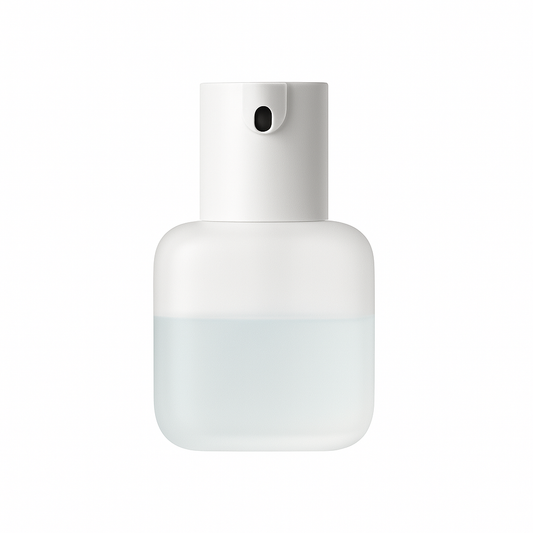
Some highly recommended soap dispenser options can be found here.
Tools and Materials You'll Need
Please note that this entirely depends on your model and there may already be instructions that comes with the dispenser.
Basic Tools:
Drill (cordless or plug-in)
Screwdriver (Phillips or flat-head, depending on screws)
Leveler
Measuring tape or ruler
Pencil or marker
Wall anchors (if installing into drywall or tile)
Screws (often included with the dispenser)
Optional Tools:
Stud finder (if attaching to a stud)
Masking tape (for marking tile)
Included Hardware (typical with most dispensers):
Mounting bracket
Screws and anchors
Installation guide
Step-by-Step Installation Instructions
Step 1: Choose the Location
Select a spot that is:
Easily reachable by everyone who will use it.
Close to a sink or washbasin.
Flat and clean, free from obstructions or uneven surfaces.
Height Recommendations:
Public/commercial bathrooms: 42–48 inches from the floor.
Children’s facilities: Around 36 inches.
Kitchen use: 10–12 inches above the sink or countertop.
Step 2: Clean and Prep the Surface
Wipe the wall with a mild cleaner to remove dust, oil, or grime. Allow it to dry completely before proceeding.
Step 3: Mark the Mounting Holes
Hold the mounting bracket or back of the soap dispenser against the wall in the desired location.
Use a level to make sure it's straight.
Use a pencil or marker to mark the screw holes.
Tip: If installing on tile, put masking tape over the drilling spots to prevent the drill bit from slipping.
Step 4: Drill the Holes
Use the appropriate drill bit:
Masonry bit for tile or stone.
Wood bit for wooden walls.
Standard bit for drywall.
Drill holes slightly smaller than the wall anchors.
Insert wall anchors if you're not drilling into a stud.
Step 5: Attach the Mounting Bracket
Secure the bracket to the wall using the screws provided. Tighten them with a screwdriver but avoid over-tightening, especially on tile or drywall.
Step 6: Mount the Dispenser
Most wall-mounted dispensers either:
Slide onto the bracket, or
Screw directly into place over the bracket.
Refer to your dispenser's instruction manual for the correct method. Once mounted, ensure the unit is secure and does not wobble.
Step 7: Fill and Test
Fill the dispenser with liquid soap, sanitizer, or lotion.
Pump the dispenser several times to prime it.
Check for any leaks or misalignment.
Maintenance Tips
Clean regularly: Wipe down the dispenser with a damp cloth weekly.
Refill promptly: Avoid running the dispenser dry to protect the pump mechanism.
Check the mounting: Every few months, ensure the unit is still secure and tighten screws if needed.
If you ever need a replacement, there are quite a few options available in the market which can be found here.
Types of Wall-Mounted Soap Dispensers
Choosing the right dispenser can make installation and usage easier. Common types include:
Manual Pump Dispensers: Require a push to dispense soap.
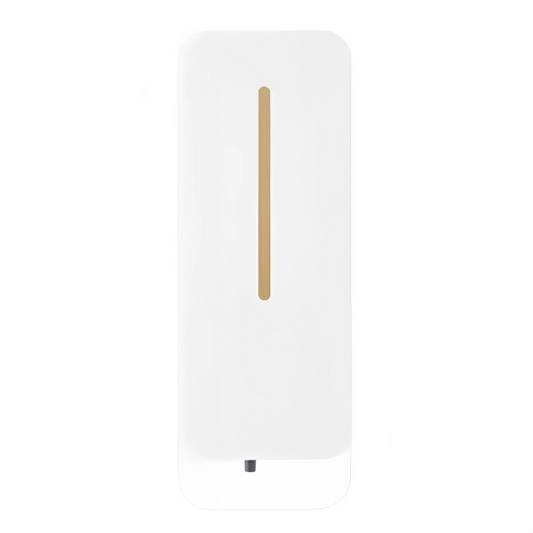
Touchless (Automatic): Use motion sensors—require batteries or power. An example can be found here.
These Manual and Touchless Dispensers can also have the below specifications.
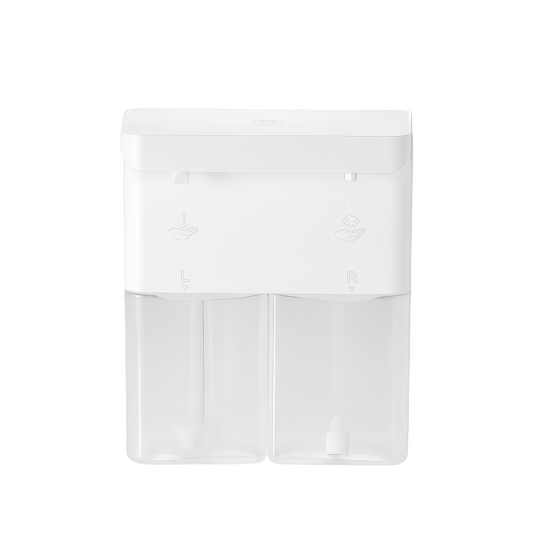
Refillable Reservoirs: Eco-friendly and cost-effective.
Cartridge-based Models: Easy to swap, common in commercial settings.
Final Thoughts
Mounting a soap dispenser on your wall is a straightforward DIY task that can enhance the cleanliness and functionality of your space. With a few basic tools and a careful approach, you'll have a professional-looking installation that serves you well for years to come.
Whether you're a homeowner, business owner, or renter (opt for adhesive models in that case), this guide should give you the confidence to get the job done right.