How to Hang a Dyson Hair Dryer
Share
The Dyson hair dryer is a sleek, high-end appliance prized for its design and performance. However, storing it improperly can not only damage the device but also clutter your bathroom. Hanging your Dyson hair dryer is a stylish and practical solution and some good options can be found here. In this article, we’ll walk you through how to hang it safely and effectively—whether you’re using the included accessories, third-party mounts, or going DIY.
What You’ll Need
Before starting, gather the following tools and materials. The list may vary depending on the hanging method you choose.
For Wall Mount Installation:
Wall mount bracket
Drill and drill bits
Level
Screwdriver
Wall anchors (for drywall)
Screws (often included with the mount)
Pencil or marker for marking holes
Stud finder (optional)
For Adhesive or Command Hook Method (No Drill):
Strong adhesive wall mount or hooks
Cleaning supplies (e.g., rubbing alcohol)
Measuring tape
Hanging Methods
There are a few ways to hang a Dyson hair dryer depending on whether you’re willing to drill into the wall or prefer damage-free solutions.
1. Using the Dyson Wall Mount
Dyson may sell an official magnetic wall-mounted dock designed specifically for the brand’s hair dryer.
Steps:
Choose the location: Select a wall near an electrical outlet, ideally near a mirror for styling.
Mark the mount location: Use a pencil and level to mark where the holes will go.
Drill holes: Use a drill bit appropriate for your wall type. If not mounting into a stud, insert wall anchors for added stability.
Attach the mount: Screw in the bracket securely.
Place the dryer: The Dyson dryer attaches magnetically to the holder.
Pros: Custom-fit, clean aesthetic, includes space for accessories.
Cons: Requires drilling, cost may be high.
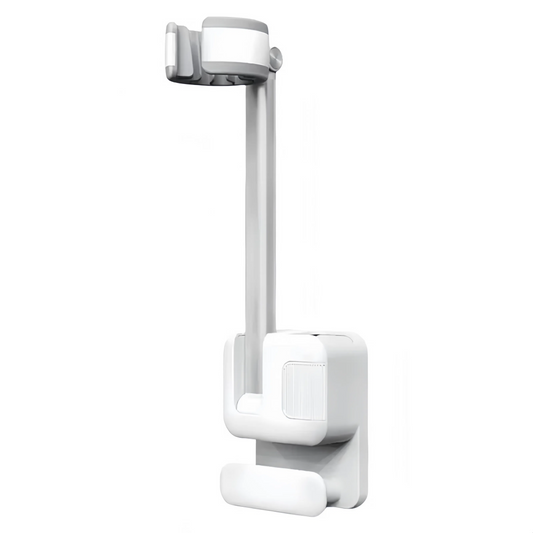
2. Using a Third-Party Wall Mount or Stand
Many third-party mounts are available on Amazon, Etsy, or specialty retailers. Some offer storage for attachments. Some highly recommended and affordable options can be found here.
Steps:
Measure and mark: Use a level and pencil to mark mounting spots.
Drill and install: Follow the mount’s specific installation instructions.
Place accessories: Some mounts have holders for the smoothing nozzle, diffuser, etc.
Pros: More options for style and budget.
3. Command Hooks or Adhesive Mounts (Damage-Free)
If you're in a rental or want to avoid wall damage, strong adhesive solutions may be an option.
Steps:
Clean the surface: Use alcohol to wipe the wall clean.
Apply adhesive mount/hooks: Follow package directions for sticking.
Let it cure: Most adhesives require 24 hours to fully bond.
Hang dryer: Ensure the hook or mount supports the weight (~1.8 lbs).
Pros: No drilling, renter-friendly.
Cons: May not support weight long-term, not ideal for humid bathrooms.
4. DIY Mount Using PVC, Wood, or Metal
For DIYers, you can create a custom mount using materials like PVC pipe cut to fit the dryer’s barrel, or a wooden bracket shaped to hold it.
Steps:
Design the holder: Sketch a bracket that cradles the dryer’s handle or barrel.
Build and test fit: Assemble the DIY frame and test stability.
Mount to wall: Use screws and anchors to secure the unit.
Pros: Customizable, cost-effective.
Cons: Requires tools, skill, and time.
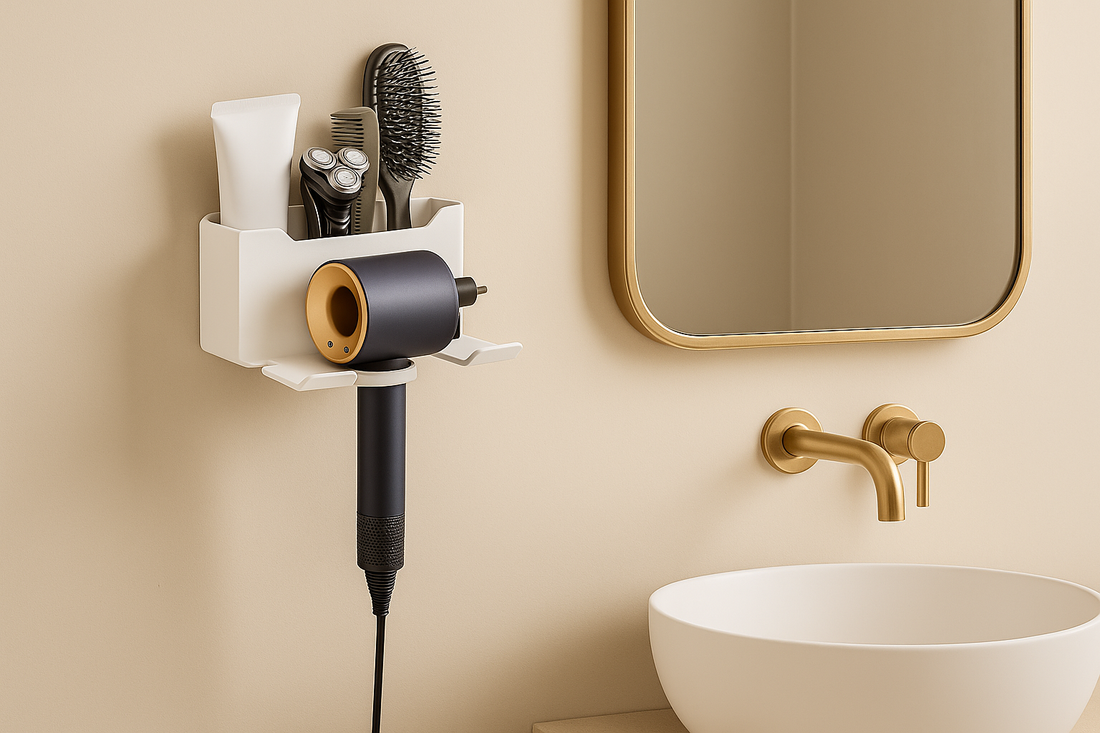
Placement Tips
Near an Outlet: Ensure the cord can reach without stretching.
Avoid Water Sources: Keep it away from bathtubs or sinks.
Ventilation Matters: Hang in a dry area to prevent mold on cords or accessories.
Child Safety: Place out of reach of small children.
A good option which ticks off the above points is therefore a wall mount for your hair dryer. Customers have highly recommended certain wall holders which can be found here.
⚠️ Safety Tips
Turn off and unplug the dryer before hanging.
Avoid overloading adhesive hooks beyond their rated weight.
Use wall anchors for drywall to prevent the mount from pulling out.
Ensure the mount is level to prevent the dryer from sliding or falling.
Maintenance of Mount and Dryer
Wipe down the mount weekly to avoid dust buildup.
Detach and clean attachments periodically.
Ensure no moisture builds up around the wall or mount, especially in bathrooms.
✅ Final Thoughts
Hanging your Dyson hair dryer isn’t just a cosmetic upgrade—it’s a functional improvement that can extend the life of your device and streamline your space. Whether you opt for the official Dyson wall mount, a budget-friendly version, or a DIY project, the key is secure installation and strategic placement.
Choose the method that fits your space, style, and skill level, and enjoy a clutter-free, designer look in your bathroom or vanity.