How to Flush an Automatic Toilet Manually
Share
Automatic toilets are an innovative convenience, found in modern public restrooms and high-tech bathrooms at home. These toilets are designed to flush automatically when the user stands up or after a set period of time. However, there are times when the automatic flush system may fail or malfunction. In these situations, knowing how to flush an automatic toilet manually can save the day. This guide will walk you through the process of flushing an automatic toilet manually, identify common issues that could cause a malfunction, and provide helpful troubleshooting tips.
Why Might an Automatic Toilet Fail to Flush?
Before diving into the manual flushing process, it’s helpful to understand some reasons why an automatic toilet might not flush as expected. Common issues include:
Battery Failure: Many automatic toilets rely on batteries to power the sensor system. When these batteries are drained, the sensor may fail to detect when to flush.
Sensor Malfunction: Dirt, debris, or moisture on the sensor can block its functionality, making it unable to detect movement or trigger the flush.
Electrical Issues: Toilets that are hardwired may experience electrical malfunctions that disable the automatic flush feature.
Water Supply Issues: A disrupted or insufficient water supply to the toilet can also prevent it from flushing properly.
How to Flush an Automatic Toilet Manually
If your automatic toilet is not flushing, you can usually flush it manually. Below are a few methods depending on the type of system your toilet uses.
1. Using the Manual Flush Button (Most Common)
Most modern automatic toilets come with a manual flush button or lever in addition to the automatic sensor. This is the most straightforward way to flush your toilet manually.
Step 1: Locate the manual flush button. This is often located near the sensor or on the toilet tank. In some cases, it could also be placed on the side or under the seat area.
Step 2: Press the button or pull the lever. This should activate the flush mechanism, allowing the toilet to flush like a traditional, non-automatic toilet.
Step 3: Ensure that the toilet flushes properly. If it doesn't, there may be an issue with the water supply or the toilet’s internal mechanisms.
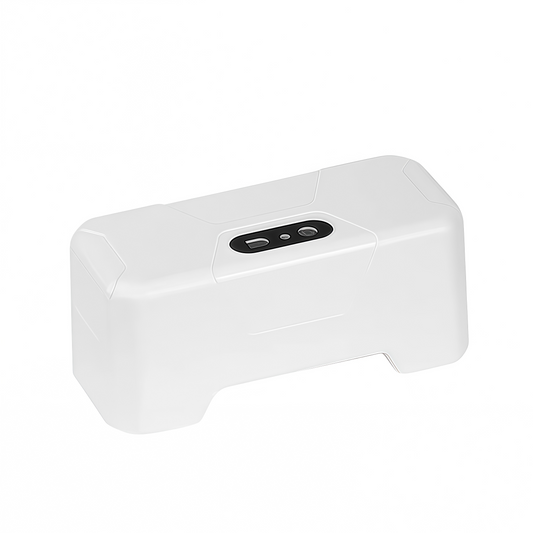
If your toilet lacks a manual flush option, our sensor retrofit kit offers a quick solution without changing the whole unit.
Note: Some automatic toilets are equipped with both a sensor and a manual flush mechanism, while others only rely on the sensor. If you cannot find a manual flush button, proceed with the next methods.
2. Activating the Flush with the Sensor (If It’s Just a Delay)
If your automatic toilet uses a sensor but there’s a delay in flushing, you can often trigger the flush by waving your hand in front of the sensor or moving around near it.
Step 1: Stand in front of the toilet and try to wave your hand in front of the sensor. The sensor is usually located above the toilet bowl or behind the tank.
Step 2: If the sensor still doesn't trigger the flush, move closer to the sensor. Sometimes proximity or a more pronounced movement is required.
Step 3: If there’s still no response, proceed to check for issues with the sensor.
3. Opening the Toilet Tank
If the sensor and manual button are unresponsive, another option is to open the toilet tank and manually trigger the flush mechanism.
Step 1: Lift the lid off the tank. Be cautious, as some tanks may have fragile parts or mechanisms.
Step 2: Inside the tank, you’ll see a flapper or valve that controls the release of water into the bowl.
Step 3: Pull the flapper or lever manually to release the water. This will flush the toilet in the same way it does when the flush mechanism is triggered automatically.
Step 4: Close the tank lid securely once the flush is complete.
Want to avoid lifting the lid in the future? Our automatic flush upgrade makes flushing contact-free again.
Tip: If the toilet is not flushing due to a water supply issue, make sure the water valve is open. If you notice the tank isn’t filling with water after a flush, the supply valve may have been closed or malfunctioning.
4. Dealing with a Sensor Blockage
If the sensor is blocked by dirt, debris, or moisture, it may not detect movement properly, thus preventing the automatic flush from working. You can clean the sensor to restore its functionality.
Step 1: Locate the sensor on the toilet. This is usually a small, rectangular or circular device above or near the toilet bowl.
Step 2: Use a soft cloth or a microfiber towel to wipe the sensor gently. Be sure not to scratch the surface.
Step 3: If the sensor is still unresponsive, use a slightly dampened cloth with warm water to clean off any stubborn residue or mineral build-up.
Step 4: Once cleaned, test the sensor by moving in front of it to see if it triggers the flush.
5. Troubleshooting and Other Solutions
If none of the methods above work, it may be time to investigate the root cause of the problem. Here are a few troubleshooting steps:
Check the Batteries: If the toilet is powered by batteries, replace them with fresh ones. Make sure the battery compartment is sealed properly.
Check the Water Supply: Ensure that the toilet’s water valve is open and that the water pressure is normal. If the water is not filling the tank properly, there may be an issue with the plumbing.
Inspect the Power Source: For hardwired toilets, ensure that the electrical connection is intact. You may need a qualified technician to inspect the wiring if you suspect a fault.
Consult the Manual: Refer to the toilet’s user manual for specific instructions related to your model. It may contain troubleshooting tips unique to your system.
Contact a Professional: If all else fails, it may be time to call a plumber or an expert who specializes in automatic toilet systems for repairs or replacement parts.
Preventing Future Issues with Automatic Toilets
Automatic toilets are designed to be low-maintenance, but regular care can help avoid malfunctions in the future.
Regularly Clean the Sensor: Keep the sensor area free from buildup of dust and dirt.
Replace Batteries Periodically: Even if your toilet seems to be working fine, replace the batteries in automatic systems every 6 months to a year.
Check the Water Supply: Periodically check the water supply valves and hoses to ensure no leaks or blockages.
Schedule Professional Maintenance: If you notice recurring issues, consider having your toilet inspected by a professional to avoid costly repairs down the line.
Conclusion
Although automatic toilets are a convenient and modern addition to bathrooms, knowing how to flush one manually is essential when things go wrong. Whether it’s because of a sensor malfunction, battery depletion, or a simple water supply issue, understanding how to take control of the flushing process can prevent frustration and embarrassment, especially in public settings. With the steps outlined above, you can confidently manage any situation where your automatic toilet fails to flush. For long-term peace of mind, explore our motion-sensor toilet flush system — no tools or wiring required.