How to Install a Toothbrush Holder on the Wall
Share
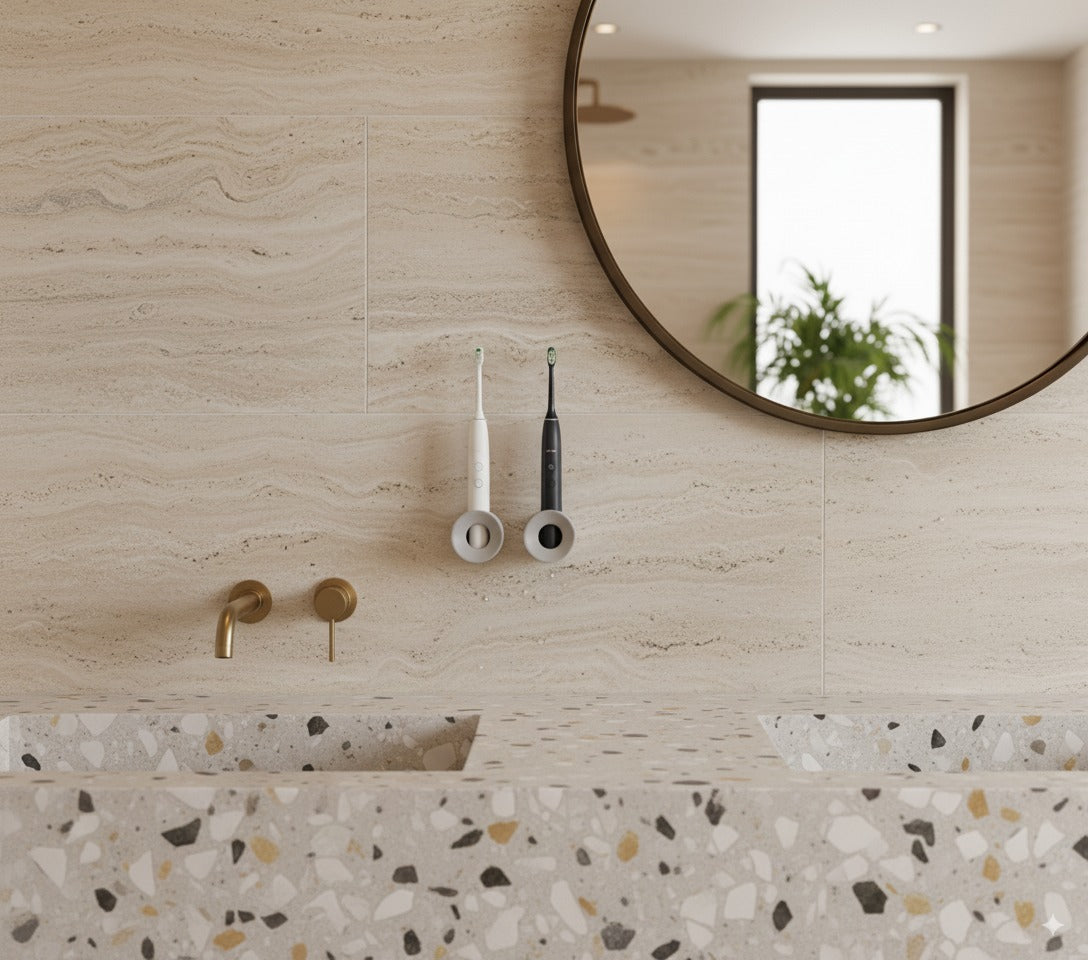
Installing a toothbrush holder on your bathroom wall is a quick and easy way to keep your toothbrush organized and accessible.
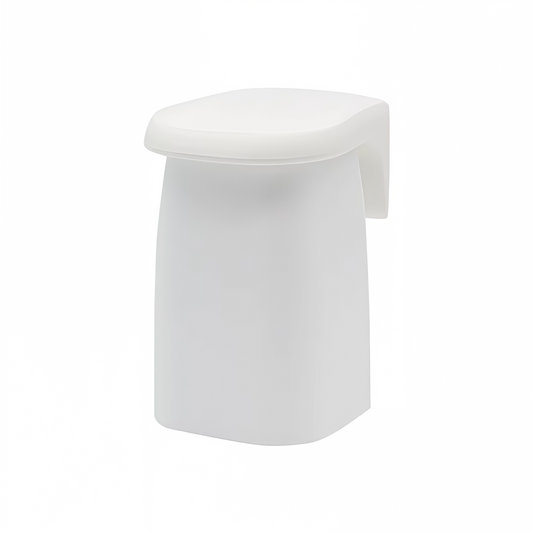
In the market, there are a wide range of options - an example is this one: Muro Wall Mount Toothbrush Holder
Whether you prefer a traditional wall-mounted toothbrush holder or a more modern design with added functionality (such as toothpaste dispensers or shelves), proper installation ensures that it stays in place and is both practical and stylish. Here’s a step-by-step guide on how to install a toothbrush holder on your bathroom wall.
Materials and Tools You’ll Need:
Before you begin, make sure you have the following materials and tools (depending on what type of toothbrush holder you have):
Toothbrush holder (wall-mounted model)
Measuring tape or ruler
Pencil (for marking placement)
Drill (with a suitable drill bit for the anchors or screws)
Screws (provided with the toothbrush holder or compatible ones)
Wall anchors (for drywall installation, if required)
Level (optional, but useful for ensuring the holder is straight)
Screwdriver or Power drill for screwing in the fasteners
Tape measure (optional, for precise placement)
Wall adhesive (optional, for non-permanent mounting or adhesive-only models)
Step-by-Step Guide:
Step 1: Choose the Ideal Location
The first step is to choose the best spot for your toothbrush holder. Consider the following factors:
Height: Ideally, the toothbrush holder should be mounted at a height that is convenient for all users in the household, typically between 4 to 6 feet above the ground.
Accessibility: Place it near the sink or mirror for easy access while brushing.
Spacing: Ensure there is enough space around the holder for multiple toothbrushes or other items, depending on the model.
Use a measuring tape to ensure that your holder is placed at the correct height and location.
Step 2: Mark the Mounting Points
Hold the toothbrush holder up to the wall in the desired position. Using a pencil, lightly mark the spots where the screws or mounting brackets will go. If your holder has pre-drilled holes, align them with your markings.
For more accuracy, use a level to make sure that the holder is straight. If your holder has multiple holes for screws, measure the distance between them to ensure they are evenly spaced.
Step 3: Drill Holes for Anchors (if needed)
If you're installing the toothbrush holder on drywall, it’s important to use wall anchors to ensure a secure fit. If the holder is designed for installation on a tiled wall, you may need a ceramic drill bit to avoid cracking the tiles.
Using a drill and the correct drill bit size, carefully drill holes at the pencil marks where the screws will go.
If you're drilling into drywall, insert the wall anchors into the holes. These will provide extra support for the screws and prevent the holder from falling.
Step 4: Attach the Toothbrush Holder
Once the anchors are in place, position the toothbrush holder over the holes or mounting brackets. If it has screws included, align them with the pre-drilled holes.
For screw-in models: Use a screwdriver or power drill to screw in the provided screws into the wall anchors. Tighten them until the holder is secure, but avoid over-tightening, as this could damage the wall.
For adhesive models: Peel off the protective backing from the adhesive and press the holder firmly onto the wall, ensuring it is in the correct position. Hold it in place for a few seconds to ensure a strong bond.
Recommended examples of these models can be found here.
Step 5: Test the Holder
After installation, gently pull on the toothbrush holder to ensure that it is securely mounted. If it feels loose, tighten the screws or reposition the adhesive.
Check that the holder is stable and doesn't wobble, which can happen if the screws aren’t fully tightened or the adhesive hasn't set properly.
Tips for a Successful Installation:
Choose the right screws and anchors: Always use screws and wall anchors that are appropriate for the type of wall you’re installing on (drywall, tile, plaster, etc.).
Avoid drilling into grout: If you're installing on a tiled wall, try to avoid drilling into the grout lines, as this can cause damage. Aim to drill into the solid parts of the tile.
Consider a no-drill holder: If you don't want to drill into your wall, there are many toothbrush holders available that use strong adhesive or suction cups to stay in place without causing damage.
There are many options in the market although some toothbrush holder options can be checked out here.
Conclusion:
Installing a toothbrush holder on the wall is a simple home improvement project that can help keep your bathroom organized and tidy. With the right tools and a little patience, you can ensure your toothbrush holder is securely mounted and ready for everyday use. Whether you're using screws and anchors or an adhesive solution, this small task can make a big difference in your bathroom's functionality and aesthetics.
Now, all that’s left to do is enjoy the added convenience of a toothbrush holder that keeps everything in its place!