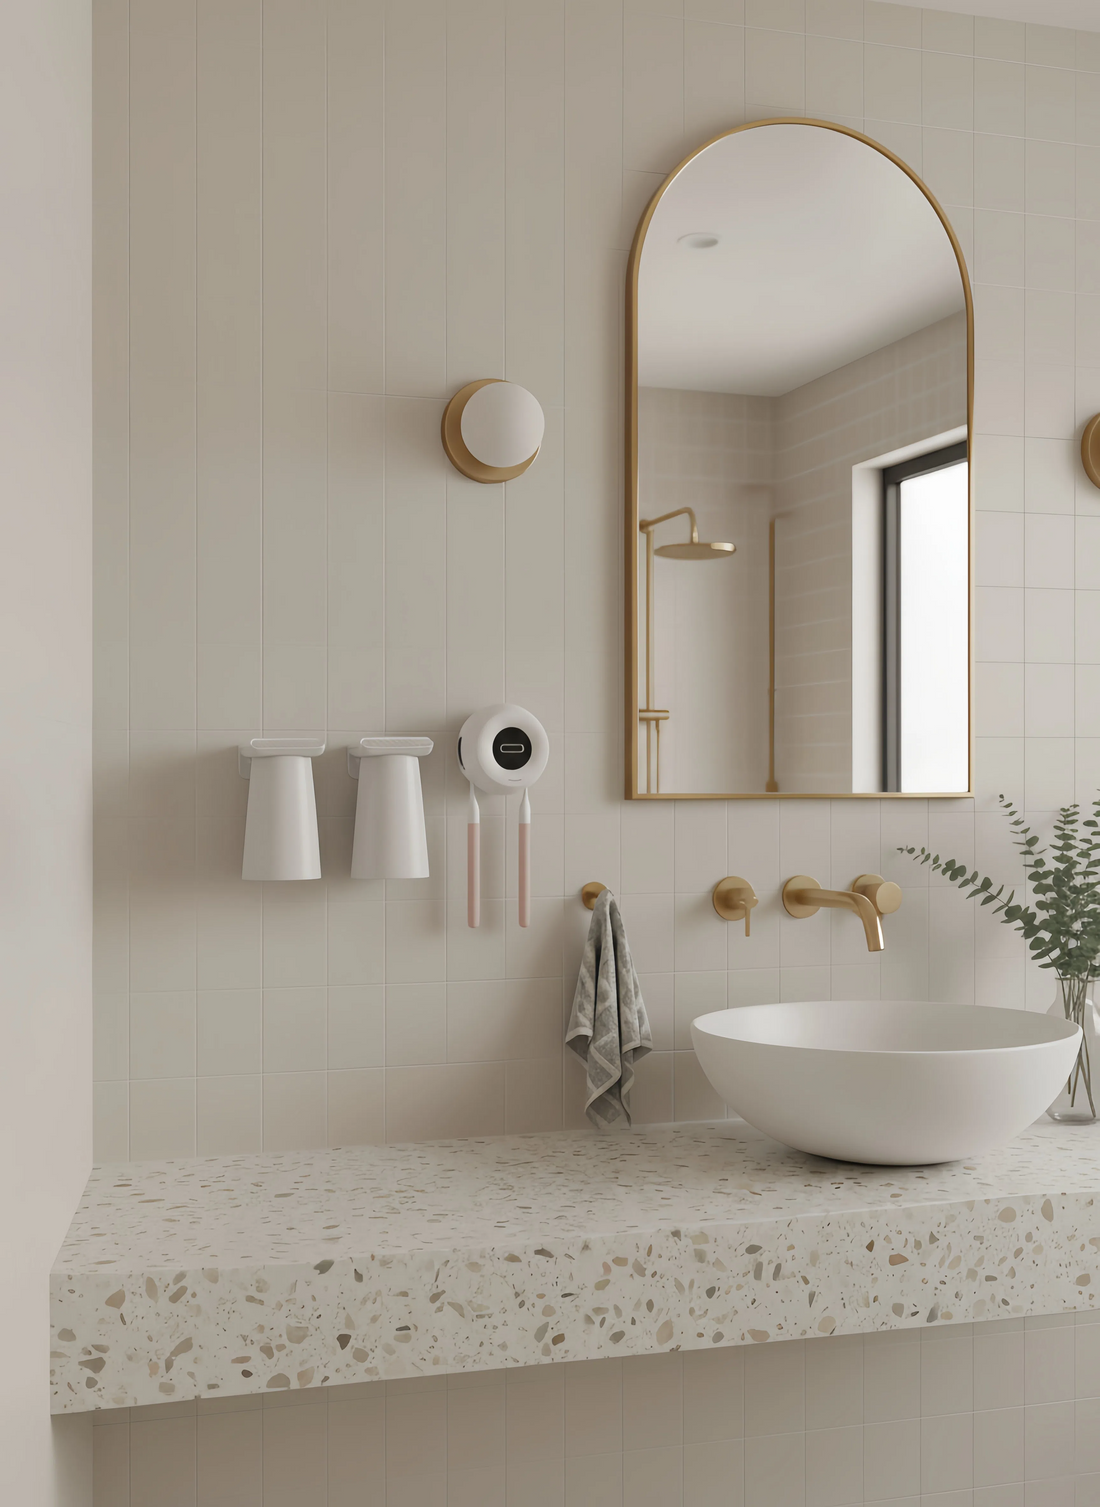
How to Remove a Toothbrush Holder from a Tile Wall
Share
Removing a toothbrush holder from a tile wall might seem like a simple task, but depending on how it was installed, it can require a bit more effort than expected. Whether you want to update your bathroom décor by changing to a better Toothbrush holder, change the position of the holder, or fix damage to the wall, knowing how to properly remove the toothbrush holder will help avoid unnecessary damage to the tile and wall.
Here’s a step-by-step guide on how to safely and efficiently remove a toothbrush holder from a tile wall.
Tools You Will Need:
Putty knife or utility knife
Hairdryer or heat gun
Small flathead screwdriver
Pliers (optional)
Cleaning supplies (mild soap, sponge)
Painter’s tape (optional)
Step-by-Step Guide:
1. Assess How the Holder is Attached
To begin, take a look at how the toothbrush holder is attached to the wall. There are typically two types of installations:
Suction Cup Holders: These are easy to remove because they don’t require any adhesive. You can simply pull the holder off the wall.
Adhesive-mounted Holders: These are more permanent and require more work to remove. The holder will likely be secured to the wall with adhesive strips or a mounting bracket.
Screwed-in Holders: Some holders are screwed directly into the tile or a mounting plate that’s been affixed to the wall. This type is the easiest to remove, as it only requires unscrewing.
2. Remove Suction Cup Holders (if applicable)
If your toothbrush holder is attached using suction cups, removing it is straightforward. Here’s how:
Gently pull on the holder: If it doesn't budge, try wiggling it from side to side to break the suction.
Clean the suction cups: Once removed, wash the suction cups and the area of the wall where the holder was attached to remove any residue.
3. Heat the Area (for Adhesive Holders)
For adhesive-mounted holders, you will need to break the bond between the adhesive and the tile. Applying heat will soften the adhesive, making it easier to remove the holder. Here’s how:
Use a hairdryer or heat gun: Set the hairdryer to its highest heat setting and direct it at the area where the holder is attached to the wall. Keep the heat source about 4-6 inches away from the wall to avoid damaging the tile.
Warm the area for 1-2 minutes: This will loosen the adhesive, making the removal process much smoother.
4. Pry the Holder Off the Wall
Once the adhesive has been heated and softened, it’s time to remove the holder. Here’s what to do:
Use a utility knife or putty knife: Gently slide the knife under the edges of the holder to lift it from the wall. Be careful not to scratch or crack the tile.
Apply even pressure: If the holder is not coming off easily, avoid using excessive force, as this can damage both the wall and the holder.
Use a flathead screwdriver (if necessary): If the adhesive is particularly stubborn, a small flathead screwdriver can help pry the holder loose.
5. Remove Remaining Adhesive (if applicable)
Once the holder is removed, there will likely be leftover adhesive on the wall. To remove this:
Use rubbing alcohol or adhesive remover: Apply a small amount of rubbing alcohol or an adhesive remover (like Goo Gone) to a soft cloth or sponge and rub the area until the residue is gone.
Scrape off any stubborn residue: If there is still some adhesive left, use a plastic putty knife to gently scrape it off. Avoid using metal tools that could damage the tile.
6. Remove Screwed-in Holders
If your toothbrush holder is attached by screws:
Locate the screws: Look for visible screws on the base or mounting bracket of the holder. These may be located on the front, underside, or even behind a decorative plate.
Unscrew the holder: Use a screwdriver to remove the screws. Once the screws are out, the holder should come off easily.
Remove the mounting plate: If the holder is attached to a separate mounting plate, unscrew that as well.
7. Patch the Holes (if applicable)
If the toothbrush holder was mounted with screws or adhesive, there may be holes or marks left on the tile or wall. Here's how to address that:
Use a tile filler: If there are small holes in the tile, you can fill them with a ceramic tile filler or a matching grout color. Follow the product’s instructions for best results.
Touch up the grout: If the grout around the holder has been affected, you may need to touch it up with new grout.
Clean the area: After removing the holder and any adhesive, be sure to clean the wall and tile thoroughly to remove dust or any leftover debris.
8. Final Cleaning
Once everything is removed, take the opportunity to give your wall and tiles a good cleaning. Use a mild soap and water solution to wipe down the surface, removing any dust, debris, or cleaner residues.
Tips for a Smooth Removal Process:
Use caution when working with tiles: Tiles are usually durable, but they can crack if too much pressure is applied. Always use gentle force when prying off the holder.
Heat carefully: If using a heat gun, be mindful of the temperature, as excessive heat can damage the tile or the grout.
If you’re reinstalling a new holder: Make sure to clean the wall thoroughly before reinstalling a new toothbrush holder. If it’s adhesive-based, ensure the surface is dry and clean to ensure a secure bond.
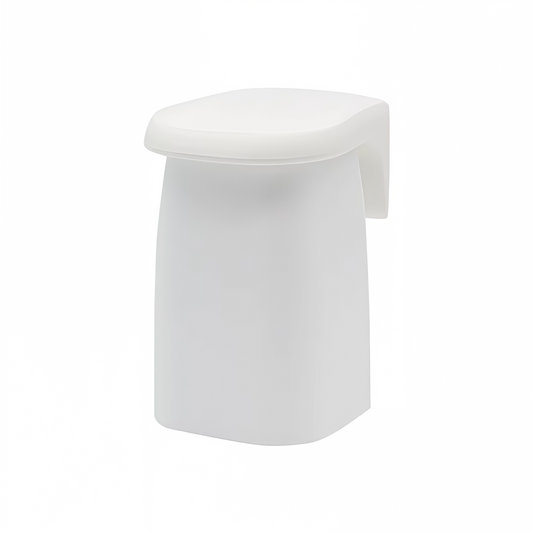
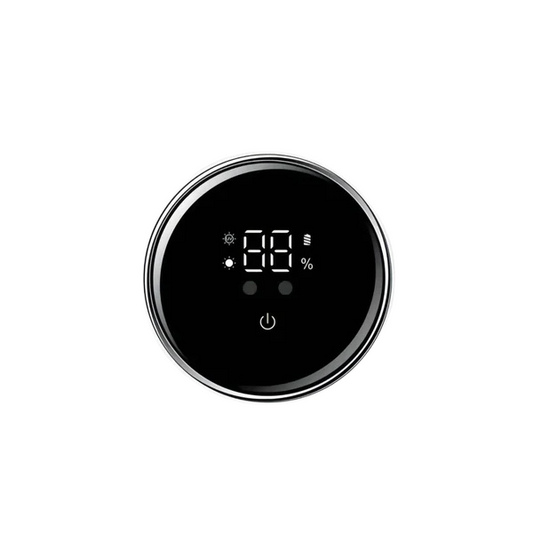
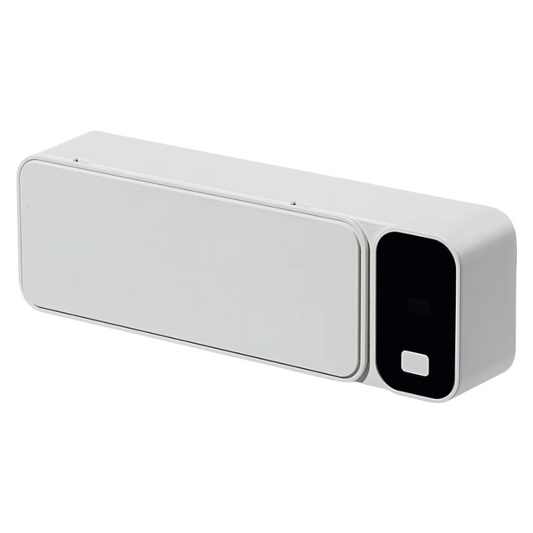
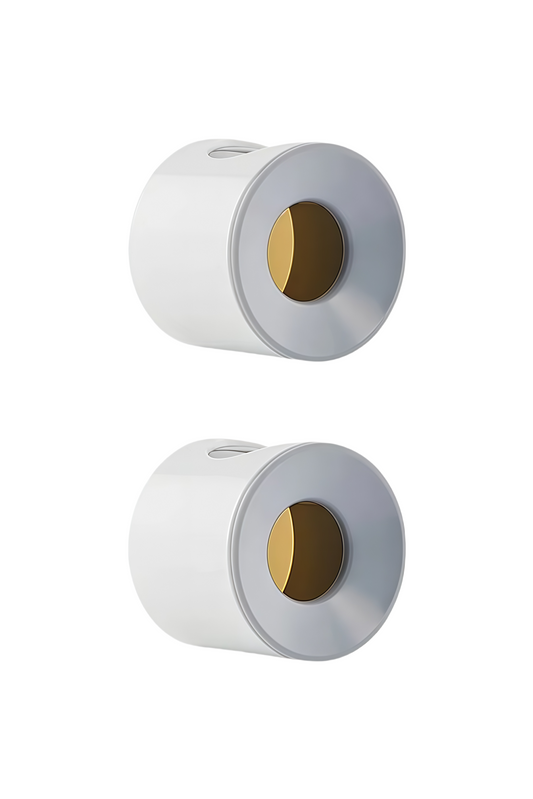
Some replacement options for your toothbrush holder include examples here.
Conclusion
Removing a toothbrush holder from a tile wall doesn’t have to be a difficult task, but it’s important to approach the job carefully, especially if the holder is mounted with adhesive or screws. By following the steps outlined above, you can successfully remove the holder without causing damage to your wall or tiles, and you’ll be ready for your next bathroom update or repair.
With a little patience and the right tools, your bathroom wall will be back to its pristine condition in no time.